Photo Mosaics Part 1
Warped Images
|
|
|
|
Photo Mosaics
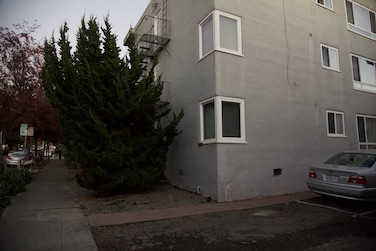
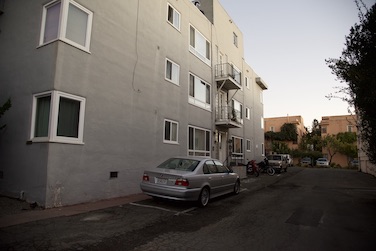
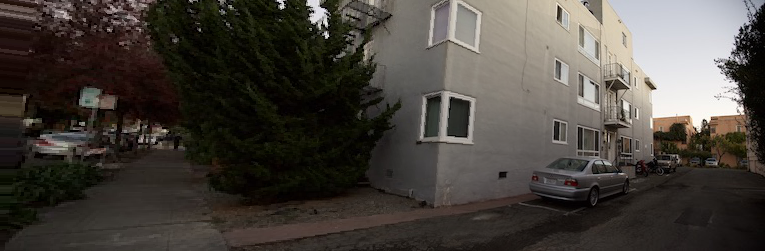
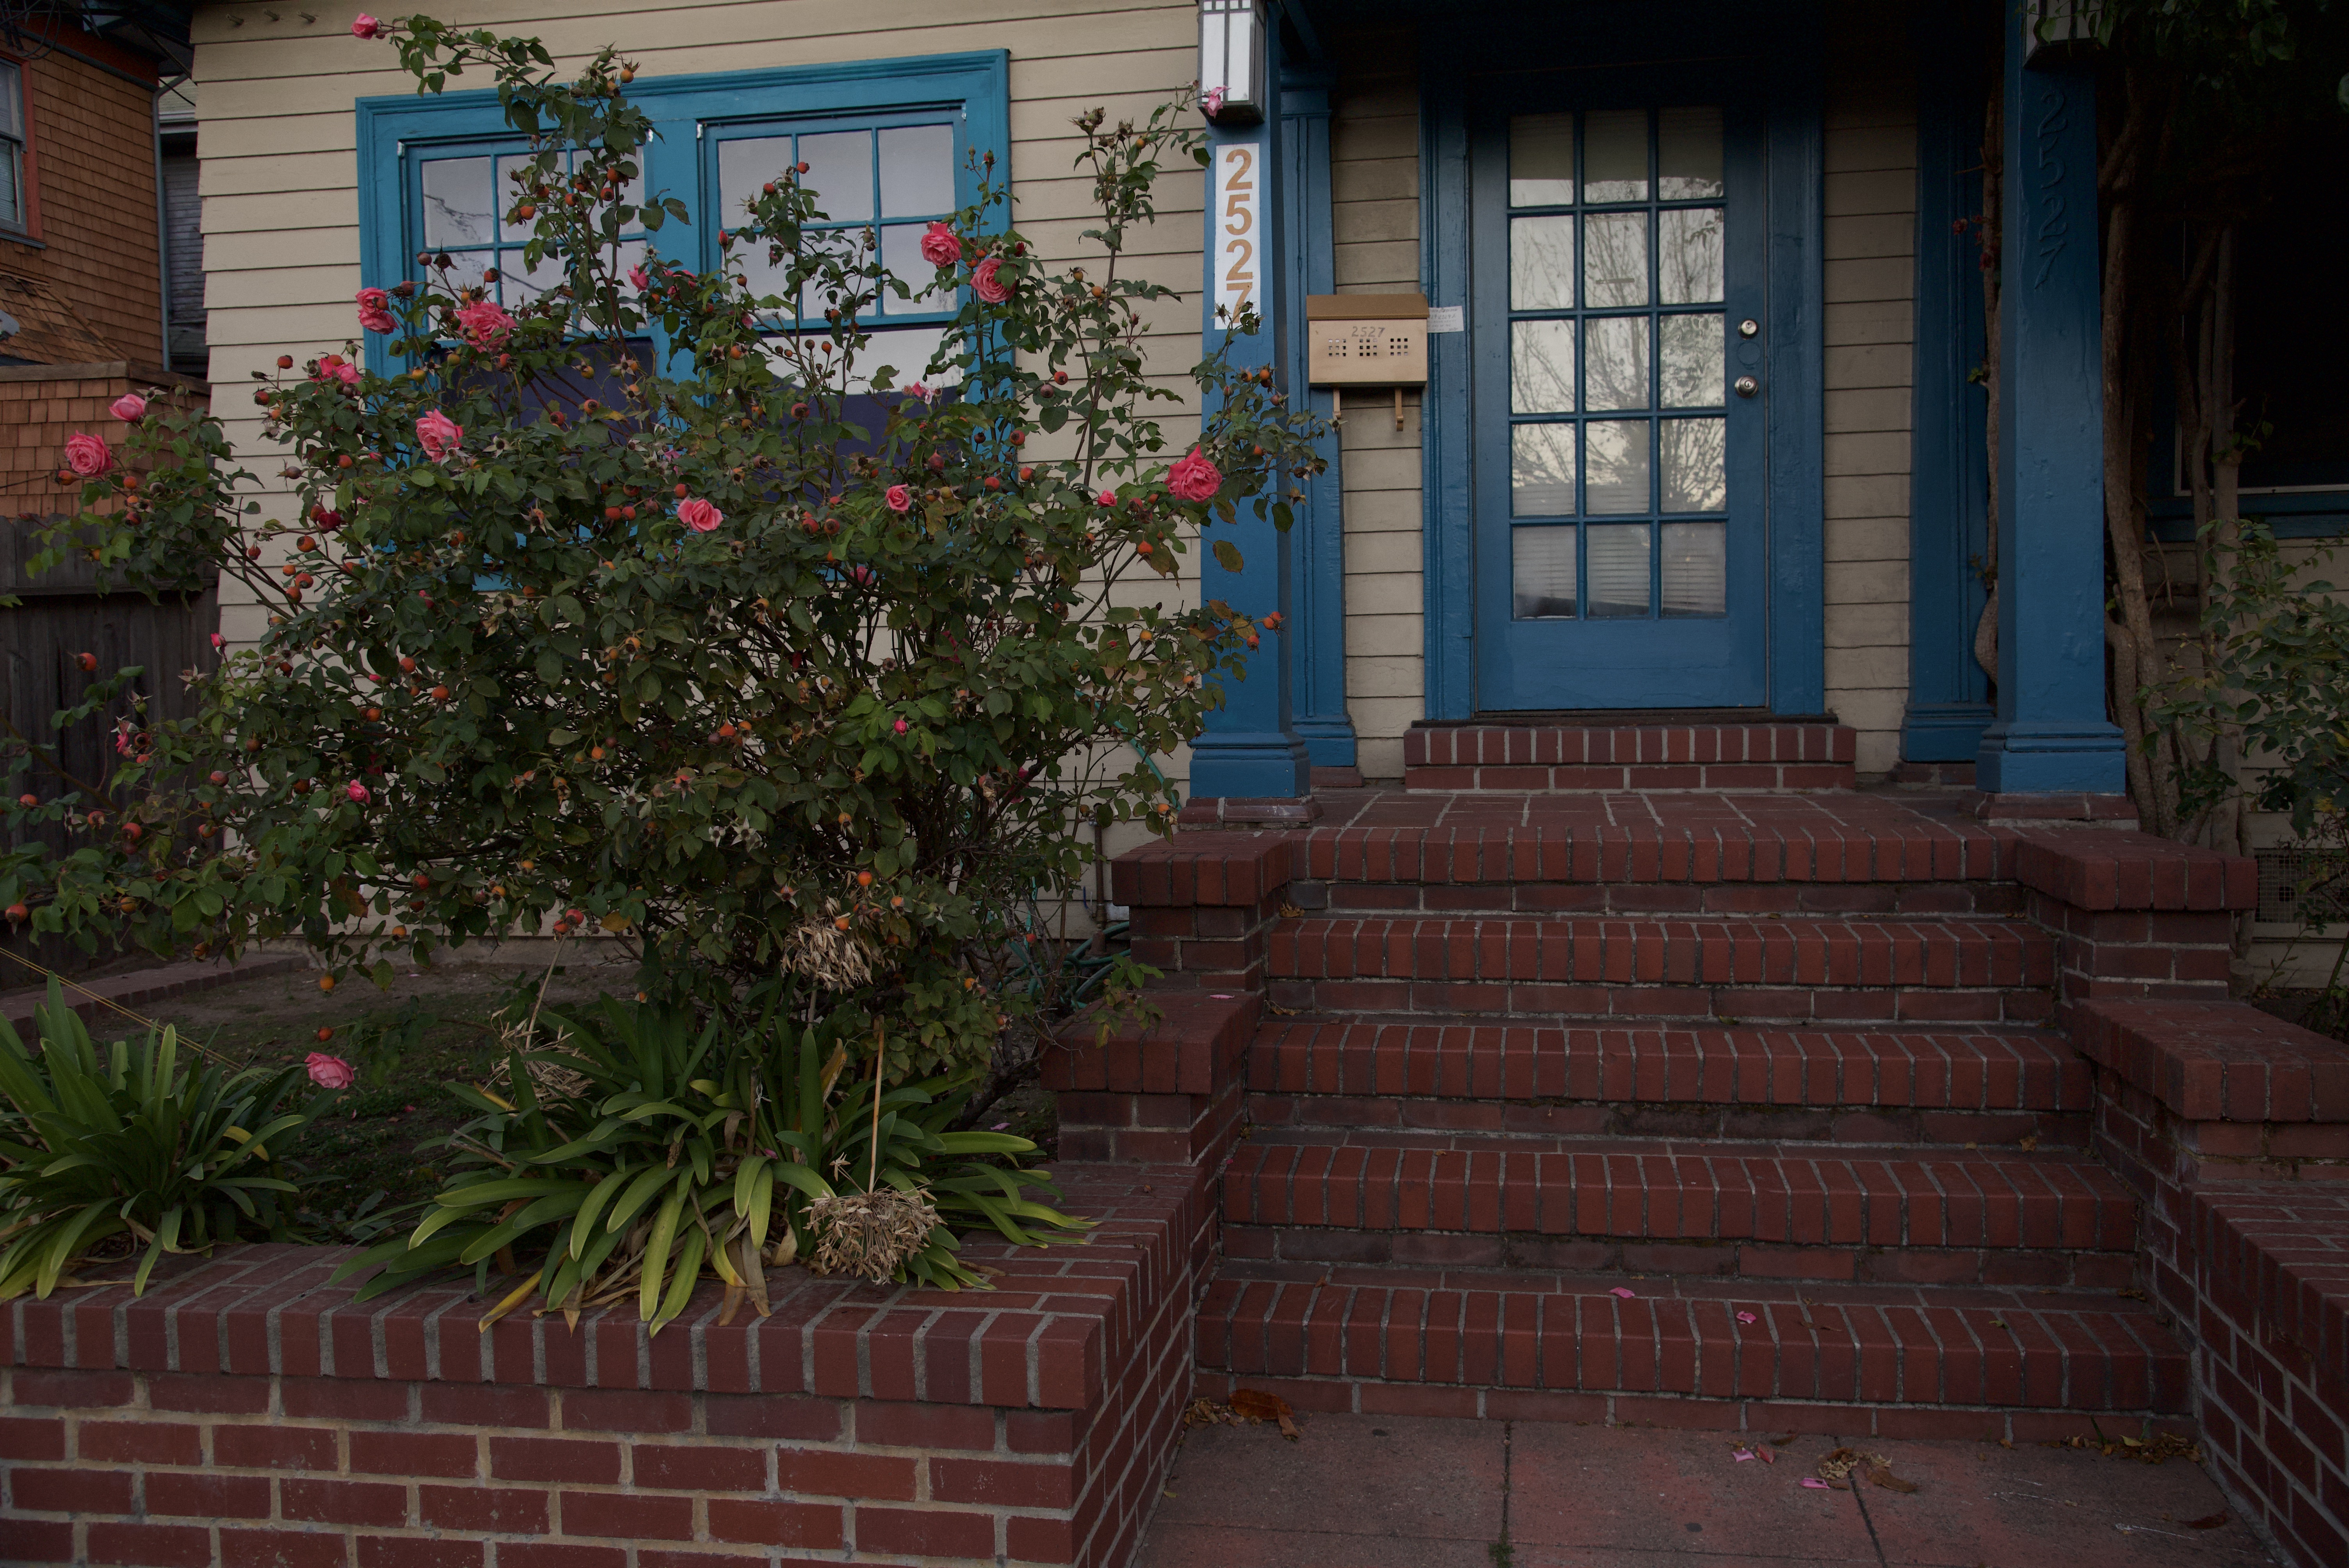
I define the keypoints in each photo by hand and then refine them by maximizing the ssd while searching in a 10 pixel radius around the selected keypoint.
|
|
|
|
|
|
What I've Learned
The most practical takeaway I have is that this project has really showed me how proficient I have gotten at numpy. In previous projects, I have had a lot more trouble determining the right way to manipulate images, and I had to read a lot of documentation. For this project, I found that I could add alpha channels and create masks for weighted averages a lot quicker.Aside from this, I also thought this project was really cool for a couple of reasons. I am quite interested in photography, and learning about homography and warping images is quite interesting coming from this background. I have spent quite a long time in photo editing apps trying to fix buildings that look like parallelograms or trying to use the iphone panorama and having it come out quite awful. It is interesting to learn the methods behind this, and to think about the different ways in which this method could be further automated and refined so that it is more robust.
Part 2
In this part, I try a much more robust and automatic method of stitching images together, largely based off of this paper: https://inst.eecs.berkeley.edu/~cs194-26/fa20/hw/proj5/Papers/MOPS.pdf
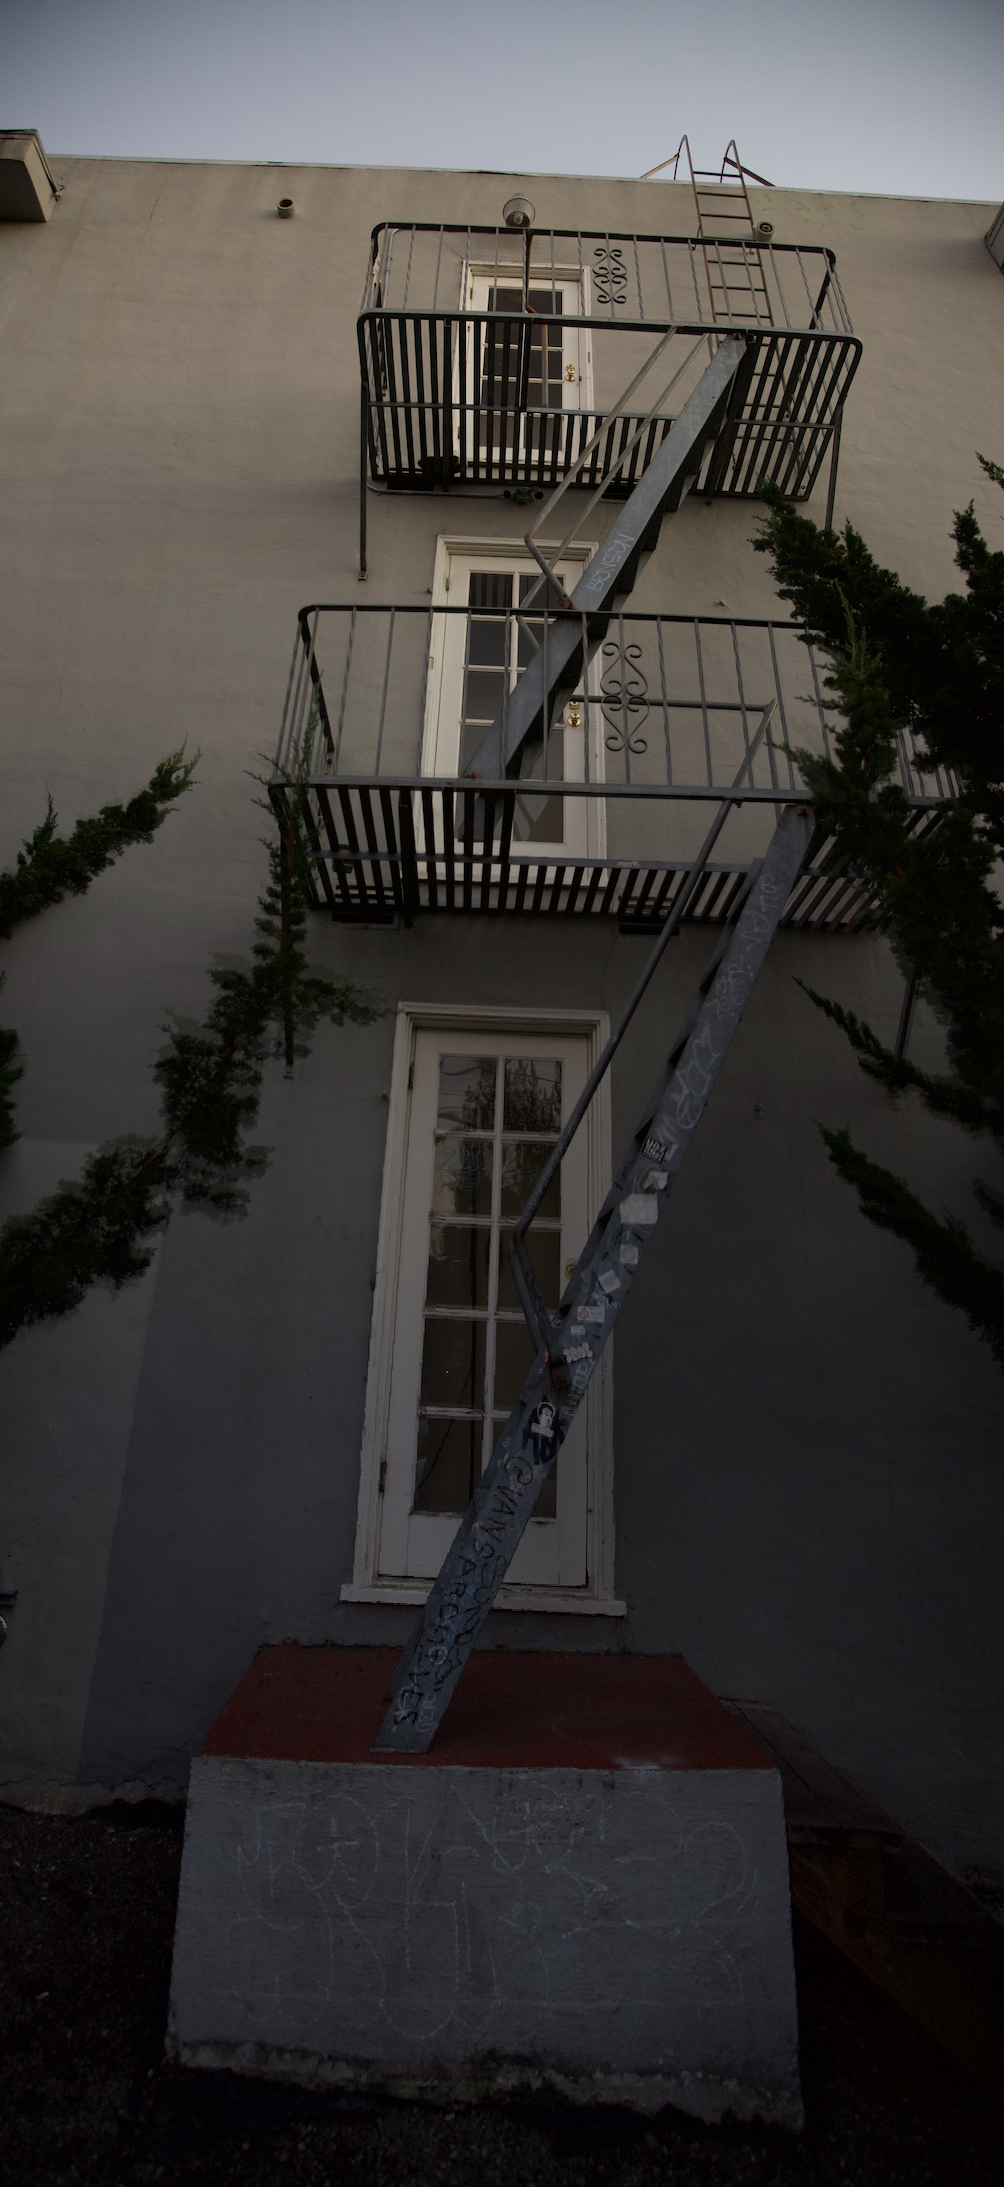
First, we detect the harris corners in the image. There are a lot of them. Here is an example of the harris corners overlaid on an image.
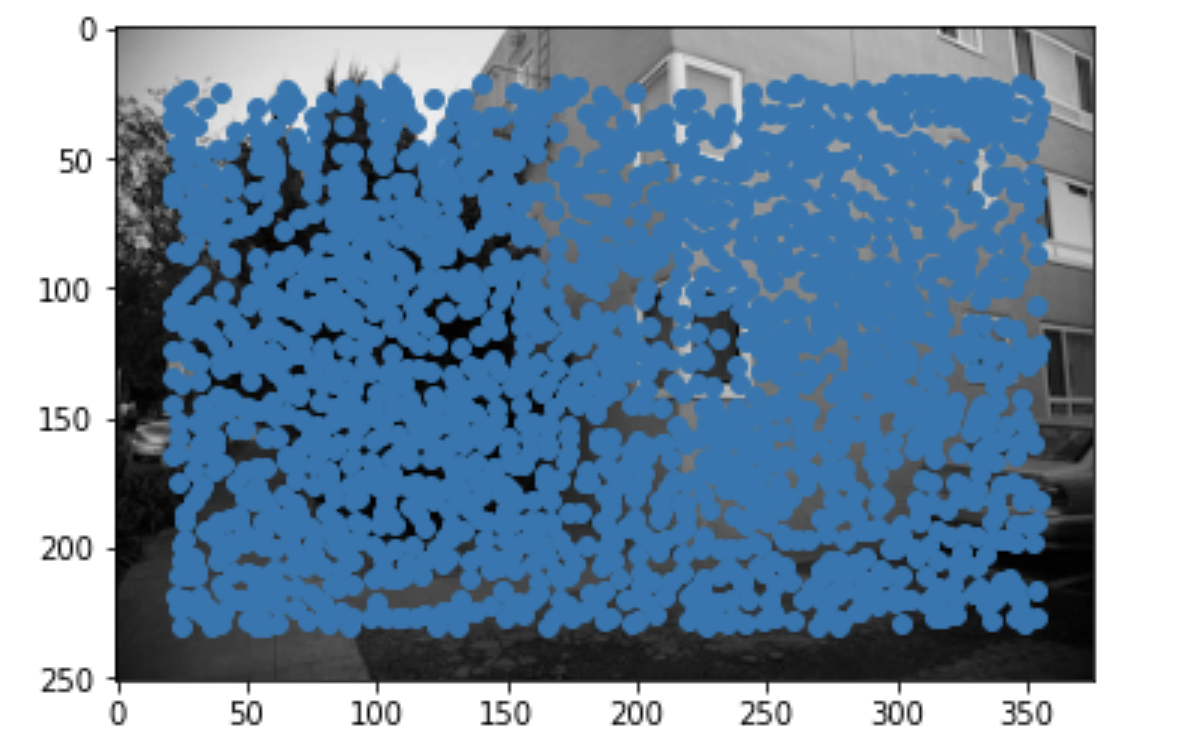
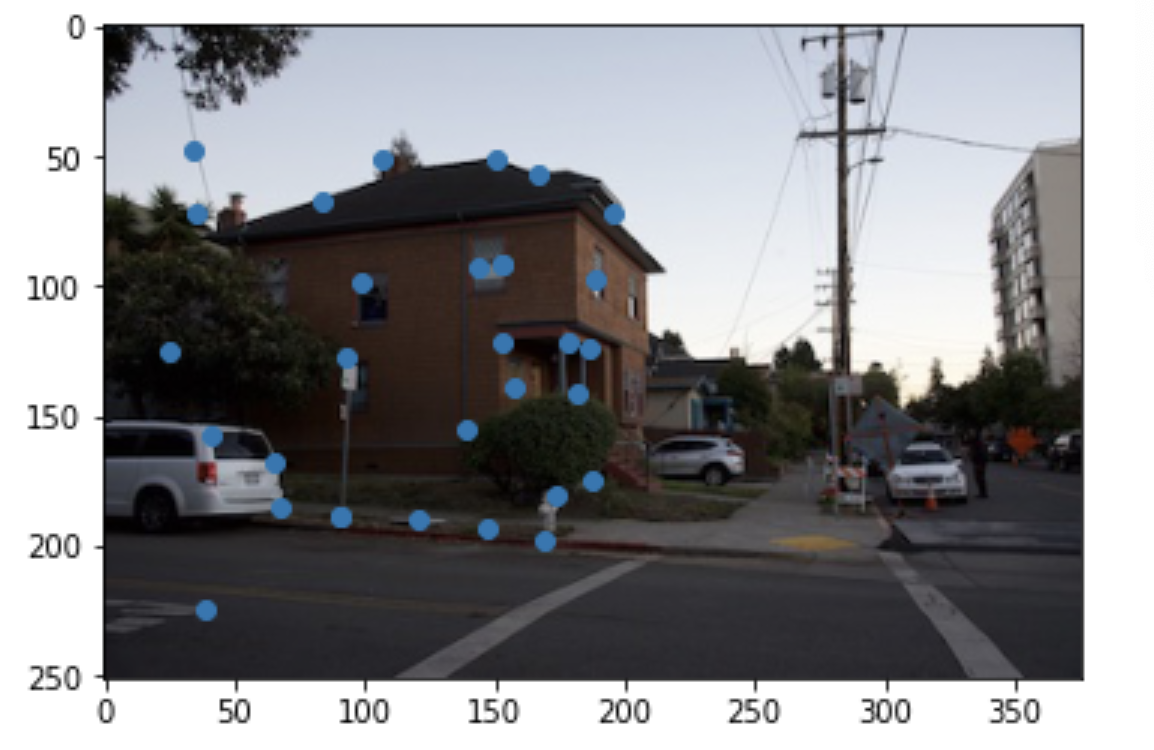
Clearly, this is way too many points. In order to reduce the number of points and find the points that will serve as the best keypoints, I used Adaptive Non-Maximal Supression. Here is an example of the points after refinement.
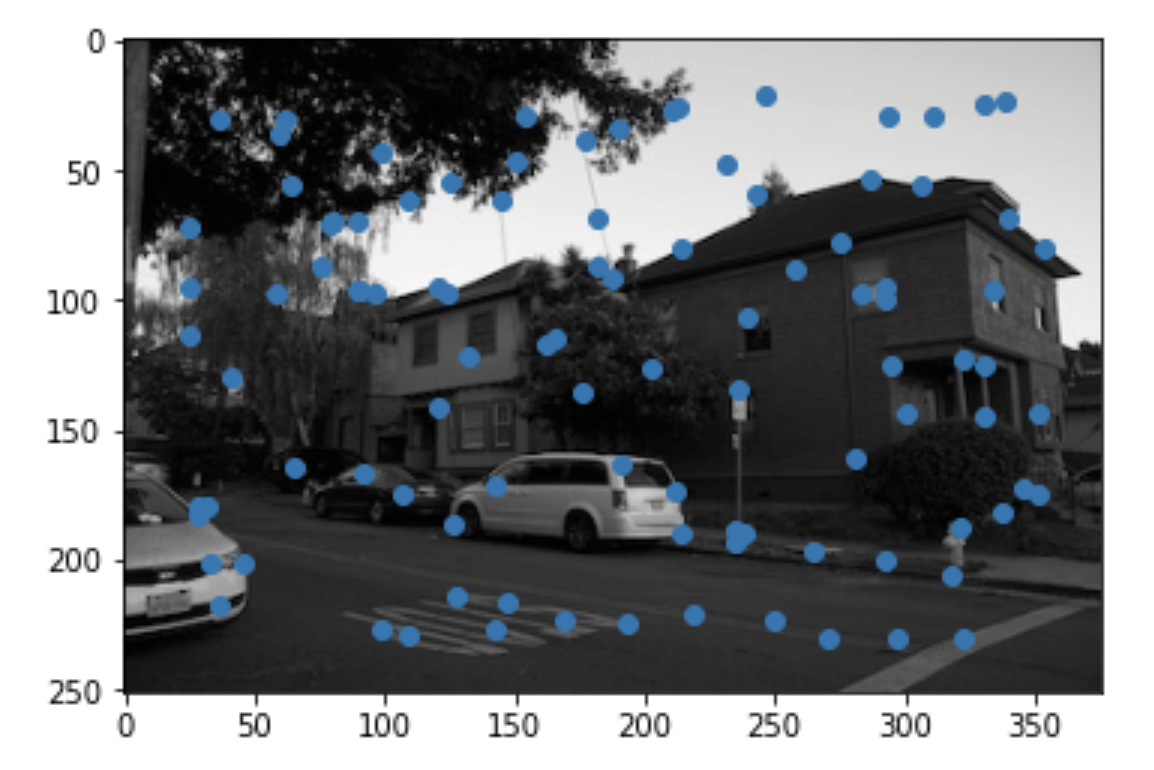
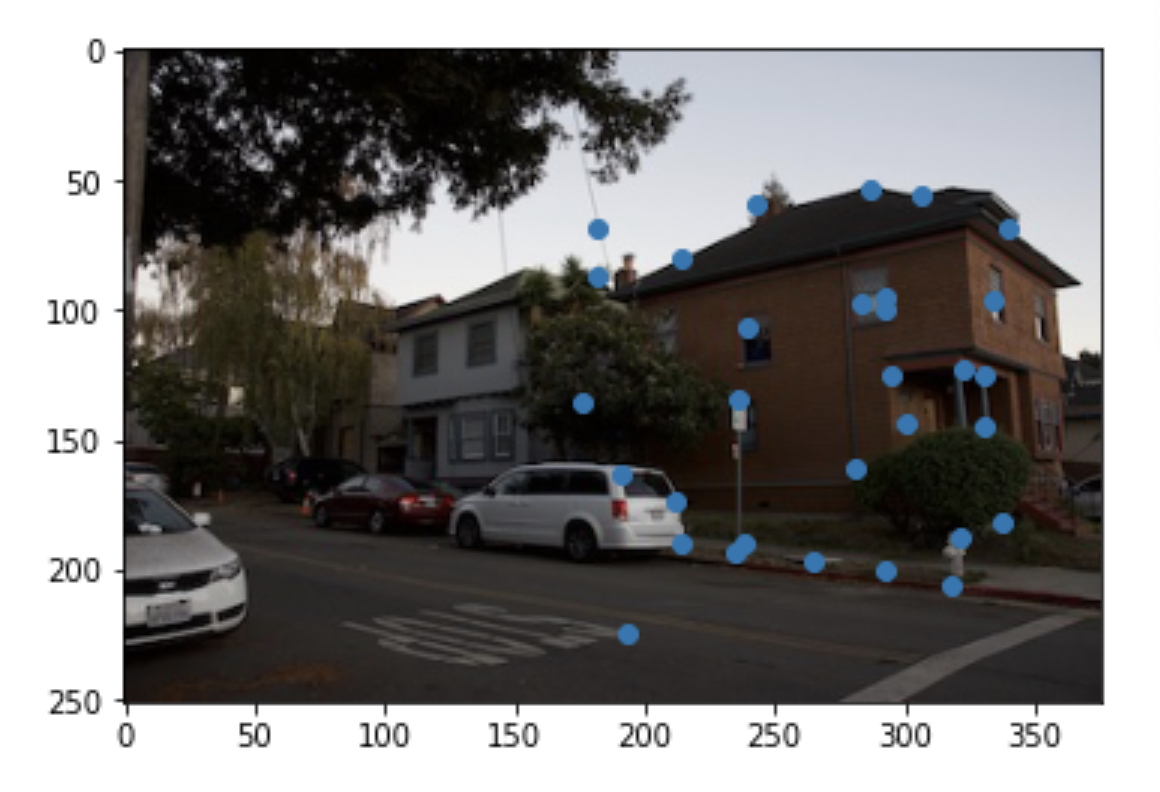
After this, I extracted the feature descriptors for each of these points and matched them by finding the nearest neighbor to each point and ensuring that their second nearest neighbor was not similar as well. If it was, I removed the point. Here are the matched points on each image.
|
|
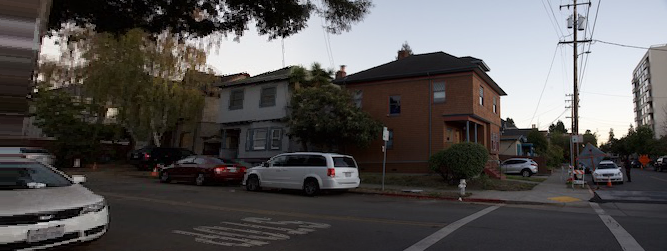
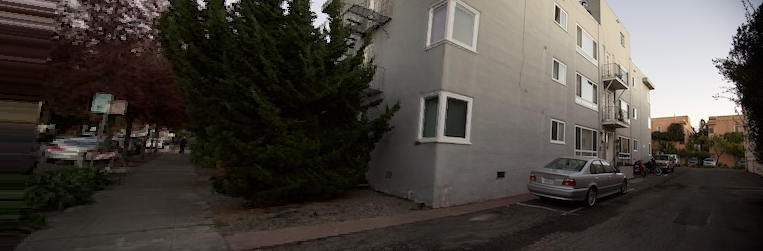
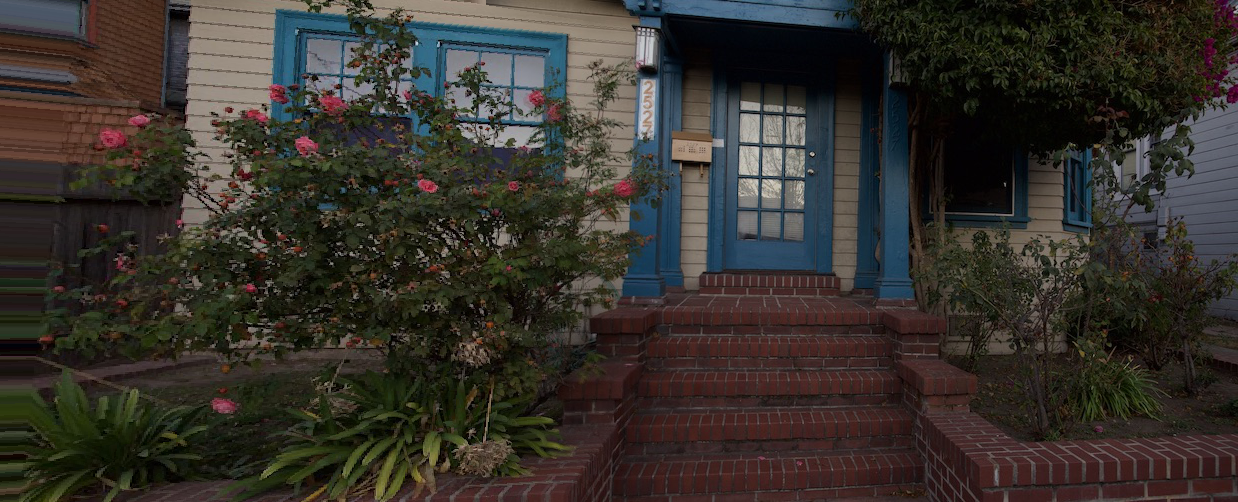
After this, I ran RANSAC and found the best keypoints in order to morph my image. Here are some final results. It works very well!
|
|
|
|
|
|
|
|
|
This last part was definitely my favorite project of the class. It is very rewarding to create something robust and automatic. The past projects have either required hand labeled points and tweaks and/or were not robust and required a lot of hyperparameter tuning. This part is so great because it just works and it works under a lot of conditions and it is such a relief. Machine learning has a lot of un-robust solutions to things and it is good to see that there are other solutions that just require some hard work and the right math and features.